Wednesday, September 10, 2014

Spicy Peanut Sauce Ice Cream - Vegan MoFo 2014 Day 4


Ack! It's the 10th already and I'm still on my 4th post. I have a lot of catching up to do.

When I decided to do the Ice Cream theme for Vegan MoFo this time, I knew I'd be experimenting with atleast a few "weird" flavours. I mean, where's the fun in just making predictable, sweet ice creams and leaving it at that? :P

So on Sunday I put together a crazy combination of peanuts, chillies, garlic, jaggery and tamarind and turned it into ice cream. It's sweet, spicy, tangy and meant for the adventurous soul. Dudes and dudettes, I present the...
Spicy Peanut Sauce Ice Cream!!! :D
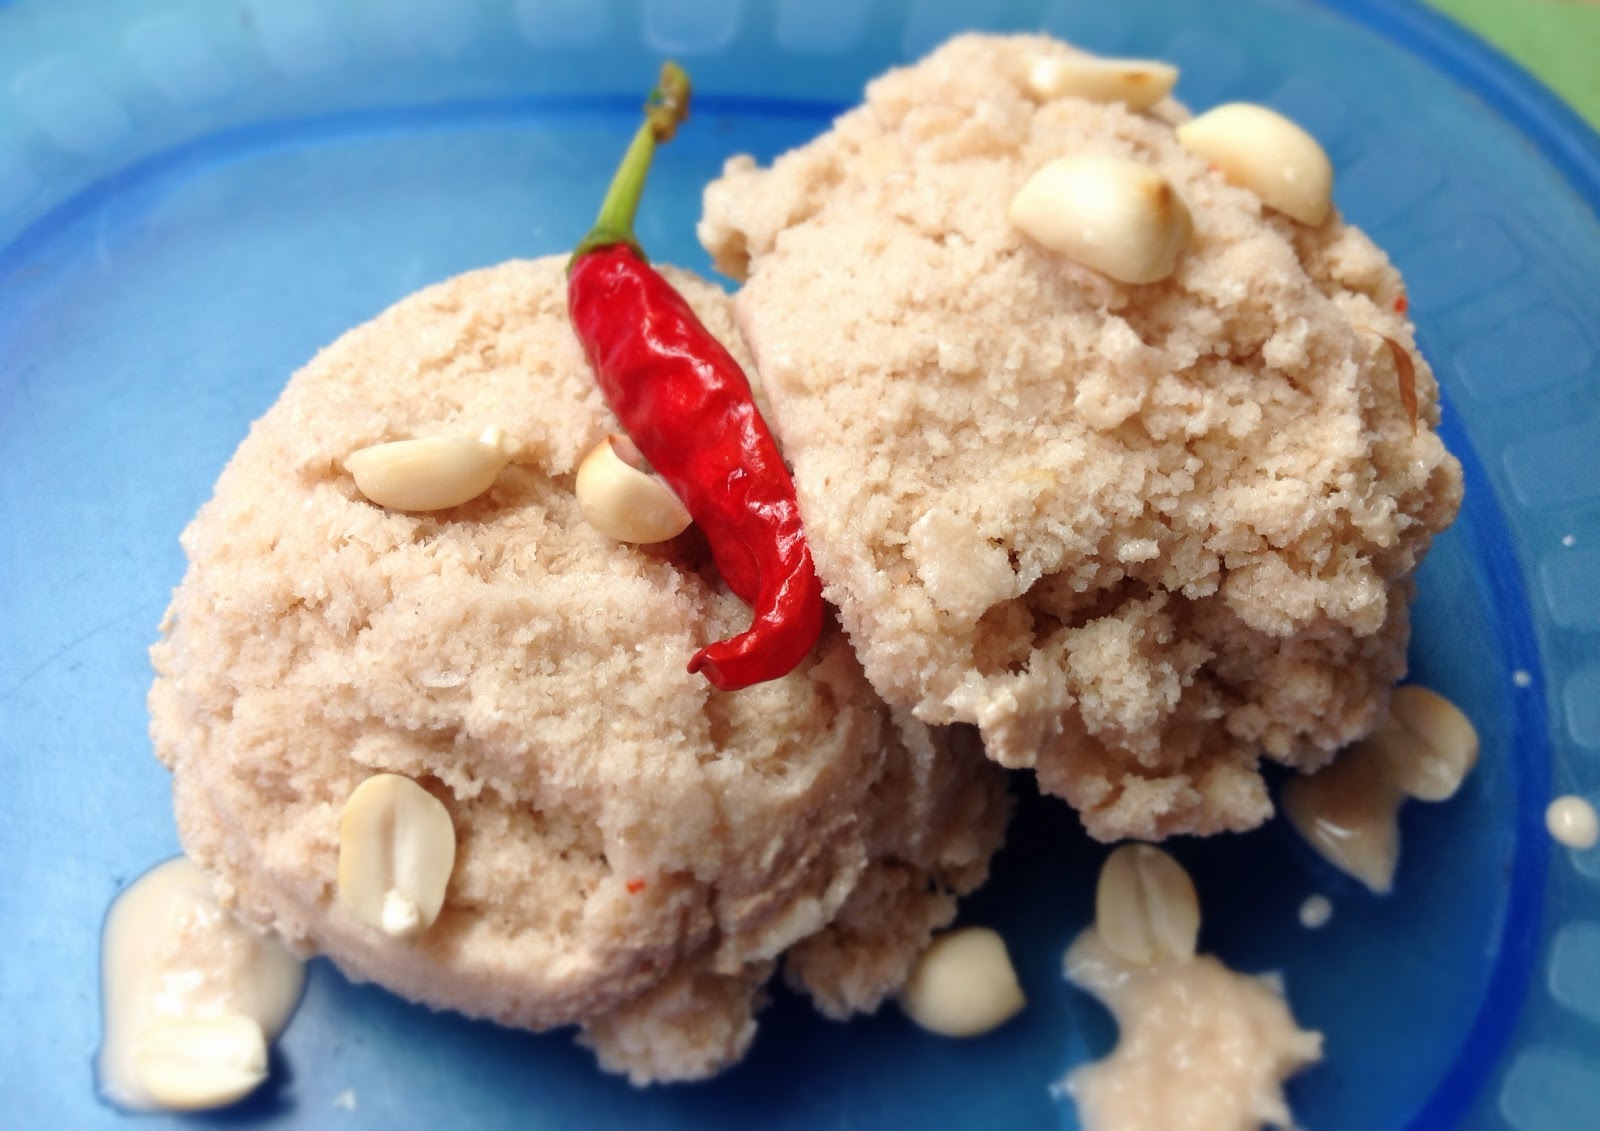
Spicy Peanut Sauce Ice Cream

Spicy peanut sauce is the *best* dip in the whole wide world. I can never get enough of it!!! So it just made sense that my first savoury ice cream was based on it. :)

This ice cream is on the crunchy, icy side but the texture suits the flavours well. It is super easy to make too.

I've used just two chillies because the ones I grow in my Veganic Terrace Garden are super spicy. You can adjust the quantity depending on the kind of chillies you get your hands on.

Spicy Peanut Sauce Ice Cream!!!

100 g Peanuts
100 g Jaggery
1/2 t Salt
1/2 t Tamarind Paste
2 Chillies
4 Garlic Cloves
1 ltr Water

- Toast the peanuts and let them cool
- Grind all the ingredients together into a creamy paste, with a little water
- Add the remaining water and blend well

- Freeze according to your ice cream maker's instructions
OR
- Transfer to airtight box and freeze for 8-10 hours
- Blend again
- Refreeze for another 8-10 hours

- Scoop and enjoy! :)

Spicy Peanut Sauce Ice Cream

Before I signed off last Wednesday, I promised you pictures from my baking and cooking workshops at Carrots. Here they are...

On Thursday, 4th September I first had a Decadent Cakes baking class, followed by a session on cooking an Oil-Free Healthy Indian Meal:
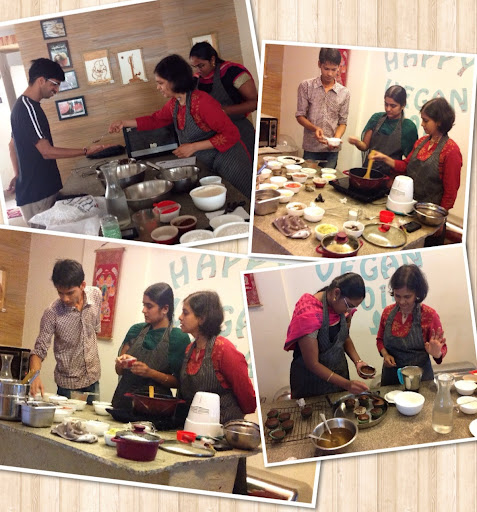
Baking & Cooking Classes

On Friday, 5th September I had a workshop on Sweet Soulful Breads:

Baking & Cooking Classes

I love teaching and I find that I'm always in my element during my classes. I'm so grateful that I now have a beautiful space like Carrots to conduct these workshops. I don't have to be stressed out about the prep work. All I need to do is hand over a list of ingredients and my boys from the kitchen set things up perfectly for the class!

And having the service guys from downstairs nearby through the sessions is very helpful too. Anything I might need gets brought to me in a matter of minutes. At the end of a lengthy session of standing and talking, I'm about ready to crash. It's a huge blessing to be able to just sit down and relax while the clean-up gets done by my helpful team mates. :)

I'm looking forward to doing more and more of these one-on-one workshops and some group demos too. If you'd like to attend one of my Vegan Kitchen Ninja Series workshops, check out the list of classes here and schedule your private session.

I'll leave you now with a bonus recipe video that we shot at Carrots on Thursday. Here, Gokul and I show you how to make a quick, easy, healthy, oil-free Coconut Mint Rice. Enjoy! :)

Wednesday, September 03, 2014

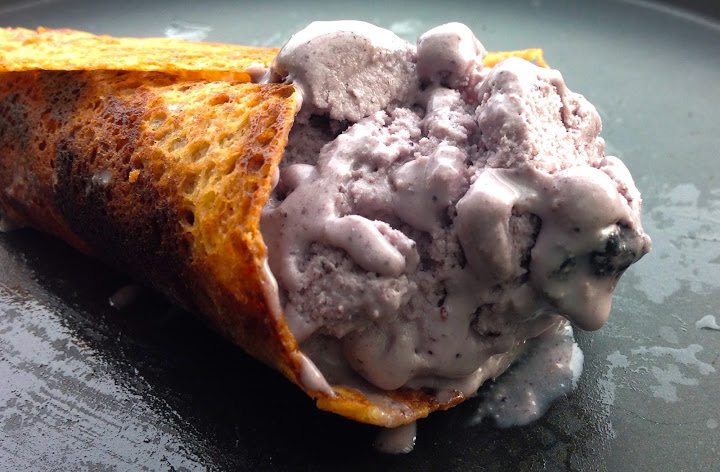
Blueberry Ice Cream - Vegan MoFo 2014 Day 3


After making the first two ice creams for Vegan MoFo at Carrots, today I decided to make some at home because my Ice Cream Monster wanted a whole batch of ice cream just for himself! :p

I started the day by digging around in the kitchen to see what ingredients I could use in today's recipe and was delighted to find a long forgotten pack of dried blueberries at the bottom of the dry fruits drawer in the fridge. I'd purchased them a while ago from Manak Mewa (just off Commercial Street). Those people have all kinds of awesome dried fruits and nuts...local, exotic, what have you! And their prices are pretty decent too.

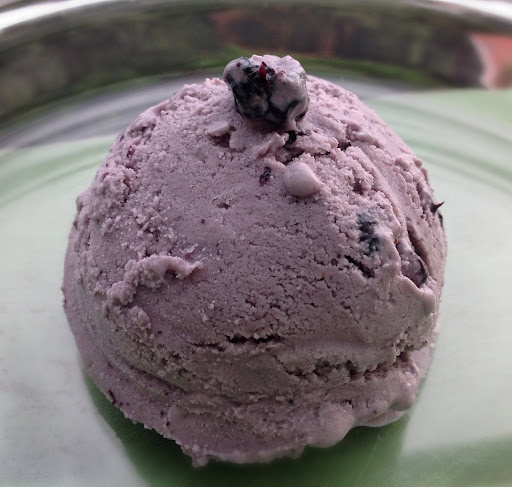
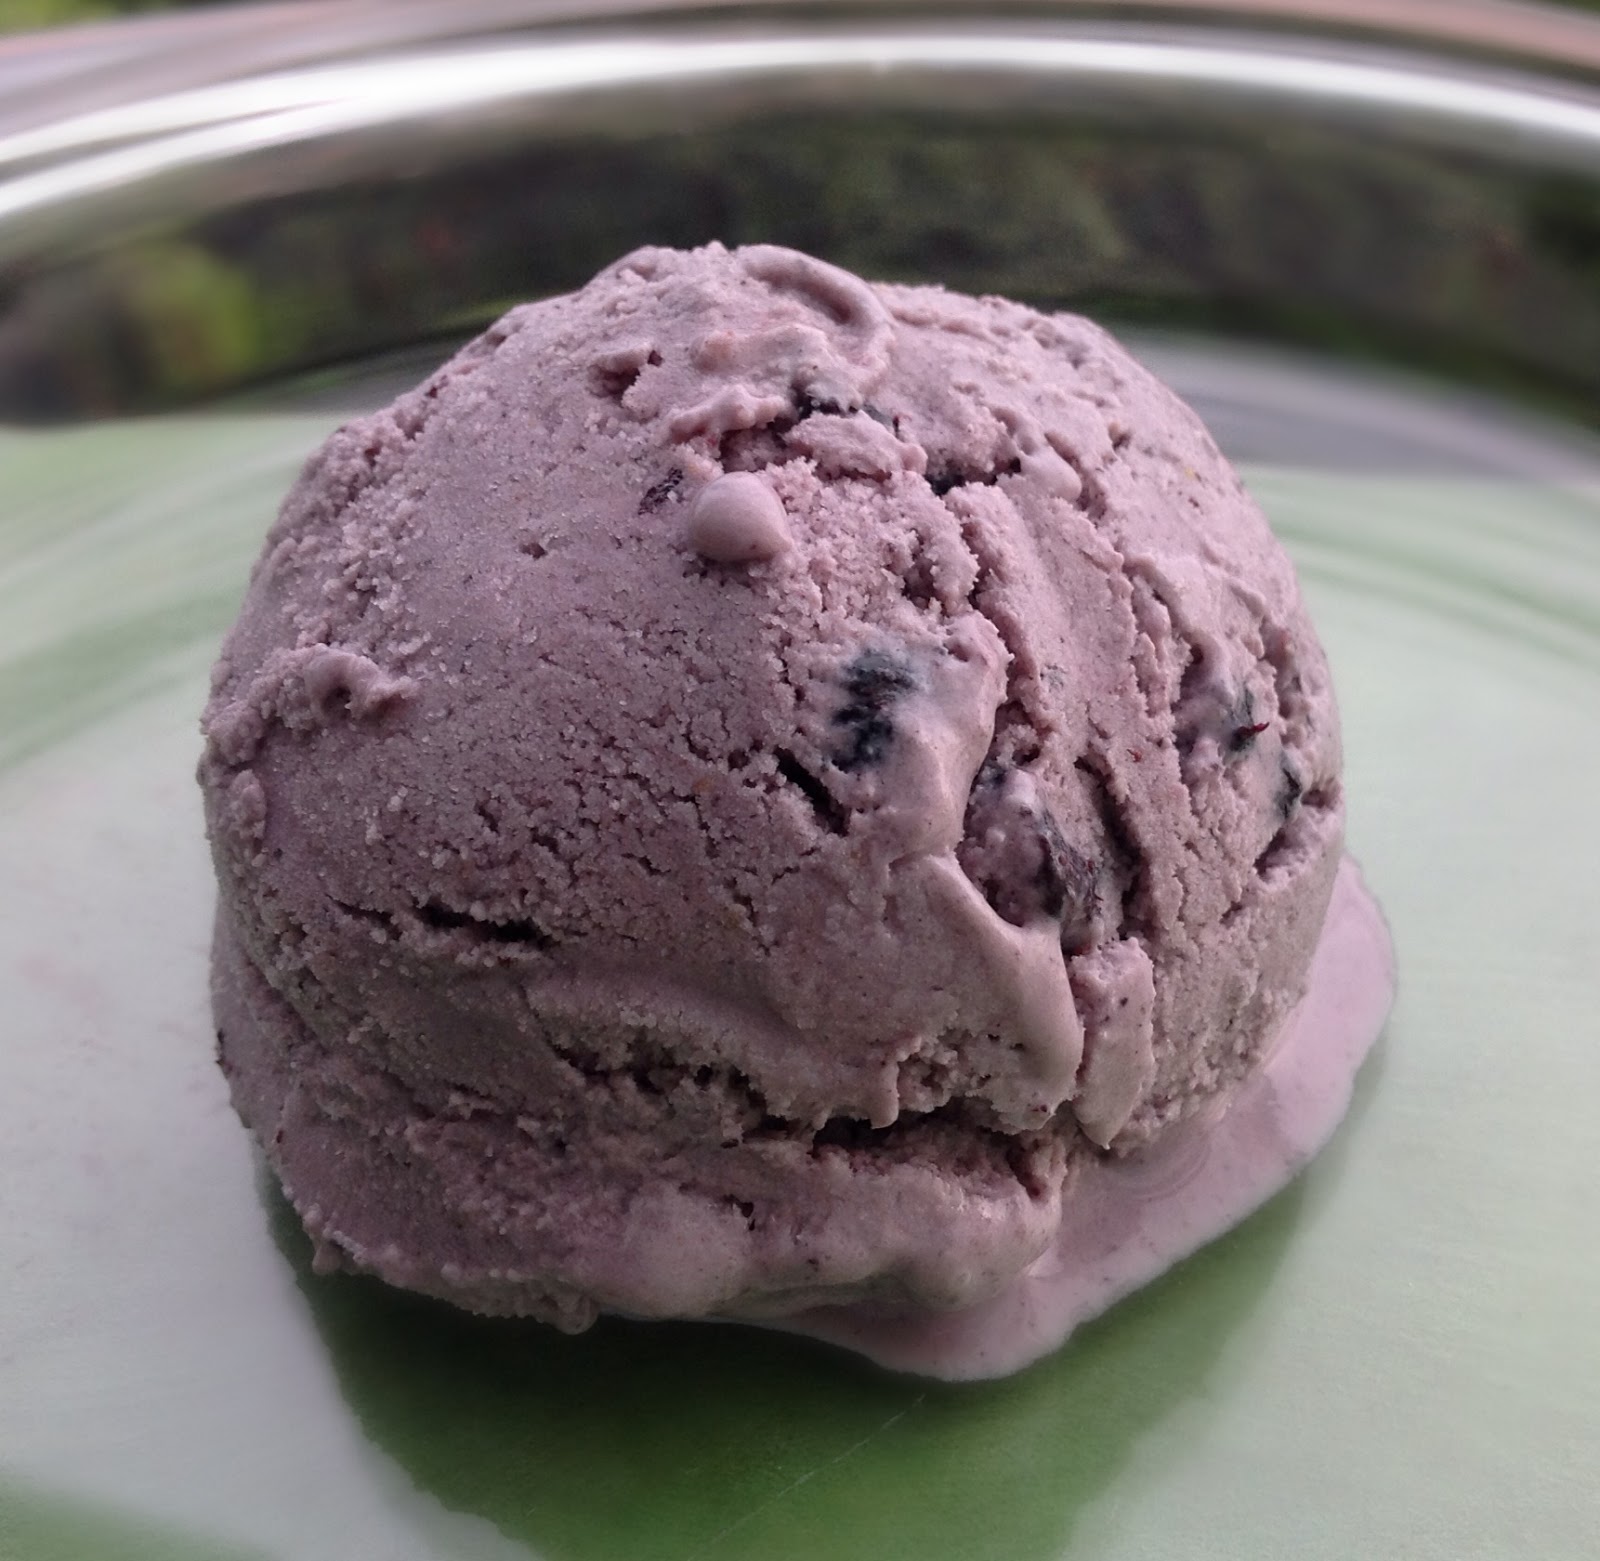
I decided to make plain blueberry ice cream. Turned out to be a great decision! Pure blueberry goodness with no other flavours getting in the way. It's a really simple 5 ingredient recipe (well, 6 if you count the pinch of salt). You can blend up the mix really fast and it's ready to be frozen.

I made this one with an ice cream maker. Turned out a lot creamier and quicker this way. But you can use the freeze-blend-freeze method to make it too.

On a side note, shouldn't blueberries actually be called purpleberries? Just look at the gorgeous colour!

Blueberry Ice Cream

Before I move on to the recipe, I wanted to give a quick shout out to RandoMoFo - the bestest way to blog hop throughout the Vegan Month of Food! Take him for a ride and you'll see what I mean.

I won't be blogging tomorrow or the day after because I'm swamped with a bunch of Vegan Kitchen Ninja Classes on both days. I'm really looking forward to teaching cooking and baking, and there's a lot of prep work to do. I'll be back here at some point over the weekend with pictures from the classes. And more ice cream recipes of course. :)

Blueberry Ice Cream

Blueberry Ice Cream

100 g Cashews
100 g Vegan Whipped Cream (Rich's or Merry Whip)
50 g + 50 g Dried Blueberries
50 g Sugar
500 g Cold Water
Pinch of Salt

- Grind the cashews and half the blueberries into a fine powder
- Add the sugar, salt and a bit of water and blend to form a creamy paste
- Pour in the remaining water and blend well
- Now add the whipped cream and blend on low speed for a few minutes
- Your ice cream base mixture is ready
- Freeze this in your ice cream maker according to the instructions
- Transfer to an airtight box and stir in the remaining blueberries
- Freeze for another hour or two
- Scoop and enjoy! :)

Blueberry Ice Cream

Tuesday, September 02, 2014

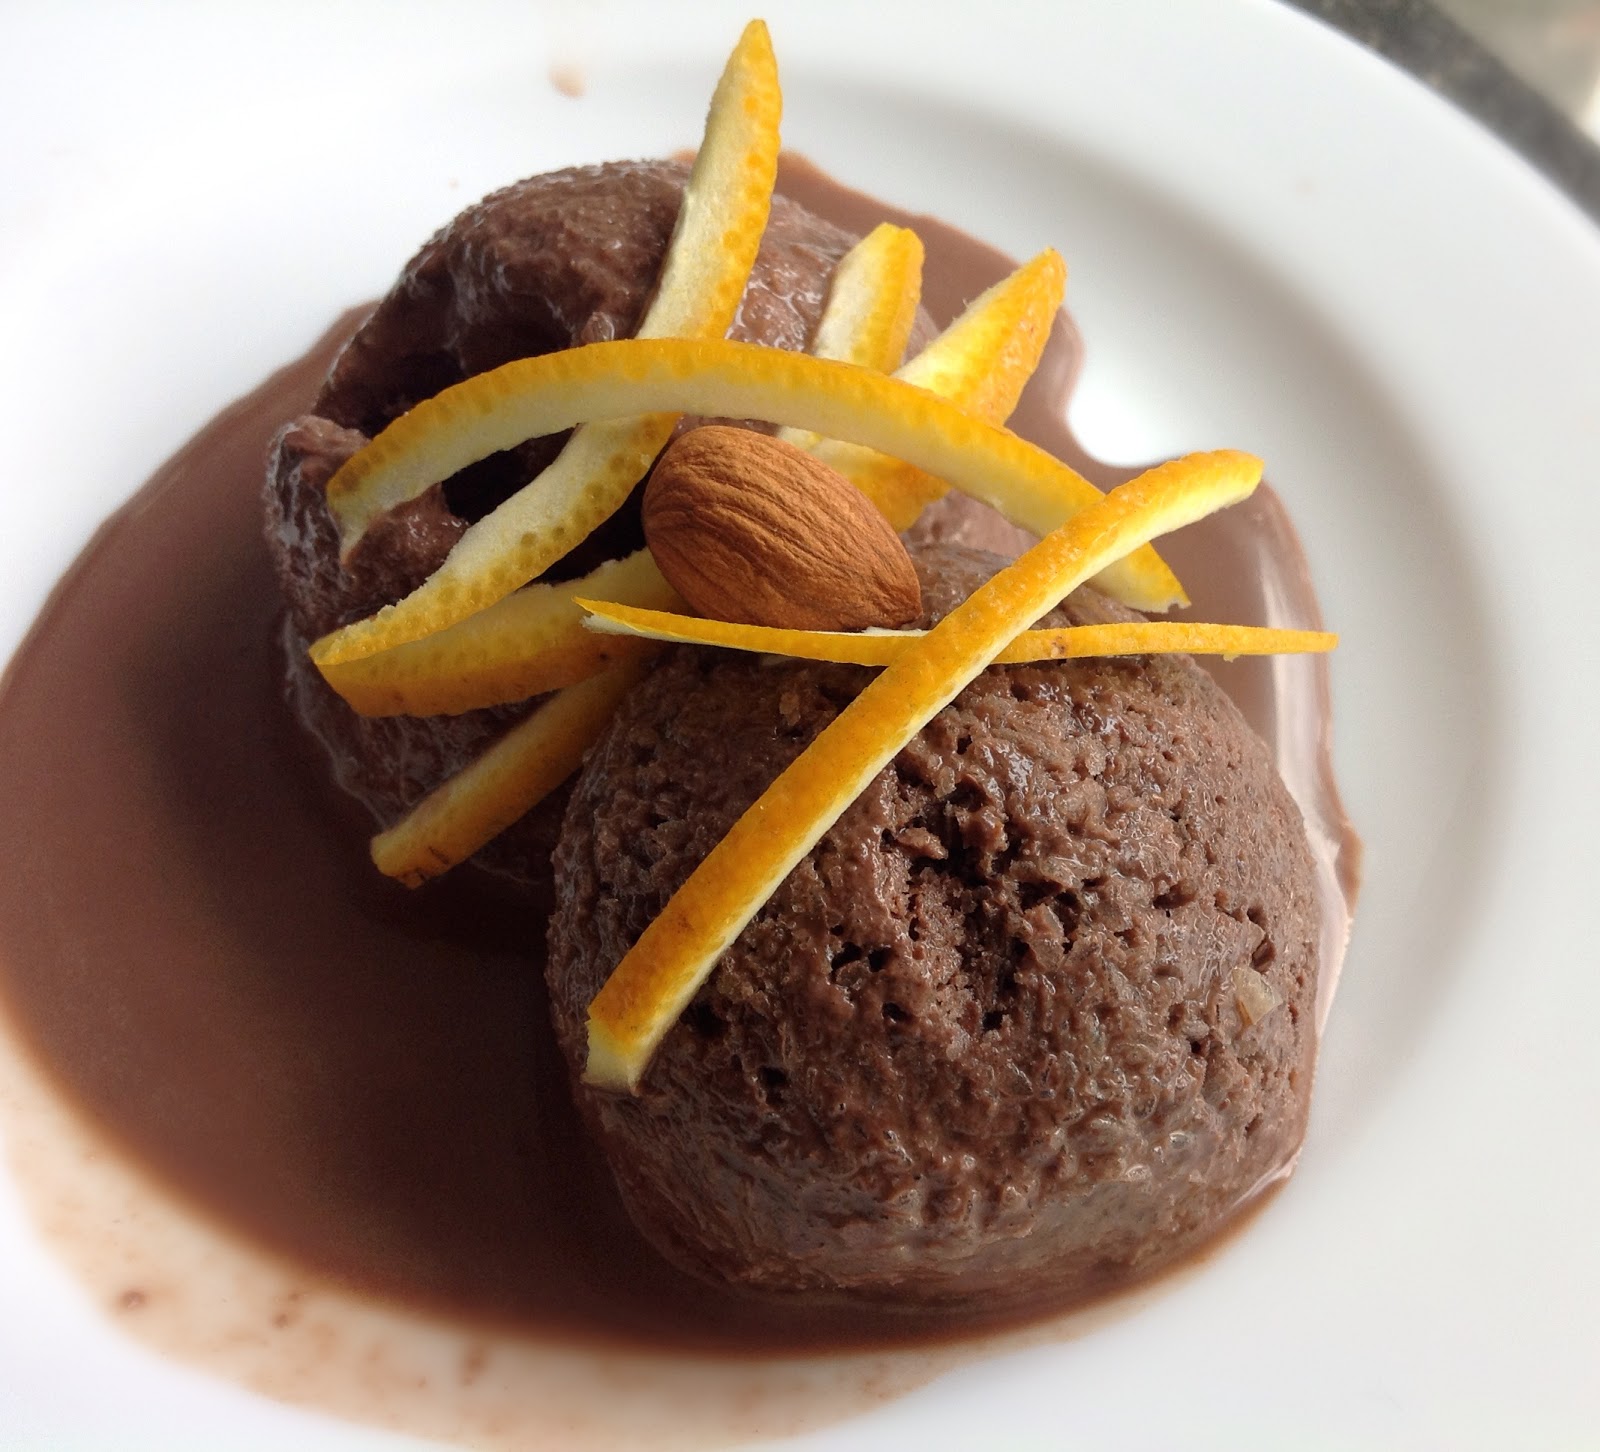
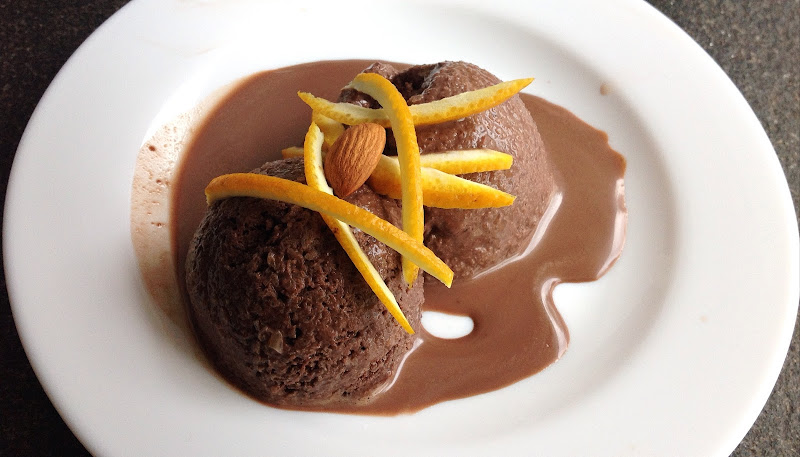
Almond Orange Chocolate Ice Cream - Vegan MoFo 2014 Day 2


I'm a big fan of the orange-chocolate combination. When I started making vegan chocolates at home many years ago, one of the first things I tried was to put dried orange peel powder in the melted chocolate and I fell in love with the way the flavours melded together.

Recently a friend of ours brought us a box of gourmet chocolate covered candied orange peels. One bite and I knew I just *had* to try my hand at making them.

So I made orange peel candy at Carrots. Thanks to Mohan who expertly sliced the peels into strips of just the right thickness for me, the end result was fantastic! But by the time the candy had cooled down, I'd decided to put them into an ice cream instead of dipping them in tempered chocolate.

And so we come to today's recipe...

Almond Orange Chocolate Ice Cream

Almond Orange Chocolate Ice Cream

100 g Almonds
50 g Soymilk Powder
300 g Pure Orange Juice (juice of about 3 oranges with no water added)
30 g Cocoa Powder
100 g Sugar
550 g water
Pinch of Salt
200 g Chopped Candied Orange Peels (recipe follows)

- Grind the almonds and sugar into a fine powder
- Add the soymilk powder, cocoa powder and salt
- Add a little water at a time and blend into a creamy paste
- Blend in the remaining water

- If you have an ice cream maker, turn this mixture into ice cream according to the machine's instructions and stir in the candied orange peels

- If you don't have an ice cream maker then transfer the mixture to an airtight container and freeze for 8-10 hours
- Re-blend the mixture
- Stir in the candied orange peels and refreeze for 8-10 hours

- Scoop and enjoy! :)

Almond Orange Chocolate Ice Cream

For the Candied Orange Peels:

Peel of 3 Oranges
220 g Sugar
220 g Water

- Slice oranges into thin strips
- Place sugar and water in a *heavy bottomed* saucepan
- Heat until sugar has dissolved
- Stir in the orange peels and cook on a medium flame, stirring once in a while
- The peels should be ready in about 15-20 minutes
- Transfer to a plate immediately
- After they've cooled slightly, gently separate them
- Cool completely and store in an airtight container