Day 5. Wondering why I'm posting so late in the day? We had an incident at Veganosaurus headquarters last night. I was happily blog hopping, when suddenly, the laptop charger stopped working! It would be bad in any other situation, but during
Vegan MoFo...it's a freaking
disaster!!! And to top it off, the Apple store I went to this afternoon didn't have the appropriate one in stock. They told me it would take them a
whole week to get it for me. Aaaarrrrrrrghhhhhh!!!
*deep breath* *deep breath*
Okay okay, I know I'm being melodramatic here. But if
I'm this way, imagine what our mascot was like. The stress really built up from last night and by this evening, when it became unbearable,
someone exploded into a screaming fit!
After being all screamed out, Veganosaurus just dropped down and gave up on this cruel, cruel world. That's when Kip hopped by to see what the ruckus was all about. He just said a quick hello and was hopping away, when Veganosaurus, who couldn't bear to see his cheerfulness decided to drag himself to Kip to share the depressing news.
It was at this point that I had to pull myself together and interfere before a damper was put on everyone's mood around here. After all, Veganosaurus headquarters runs on joy and cheer. Without those two ingredients, we're doomed.
We did a healing, gratitude meditation where we focused on the many other gadgets around our home which *do* work fine. In the end, everyone was calm and feeling thankful that we have other ways of getting today's blog post done. So finally, here we are! :)
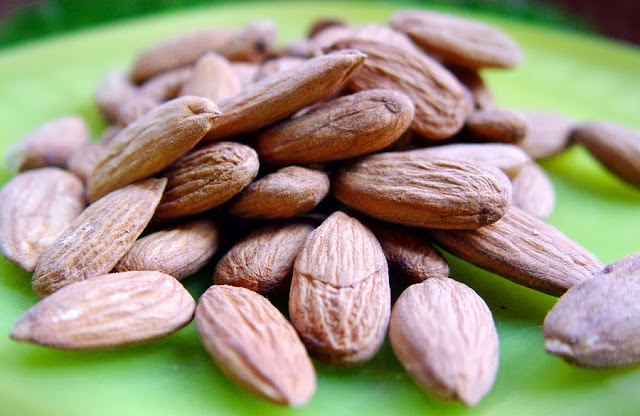
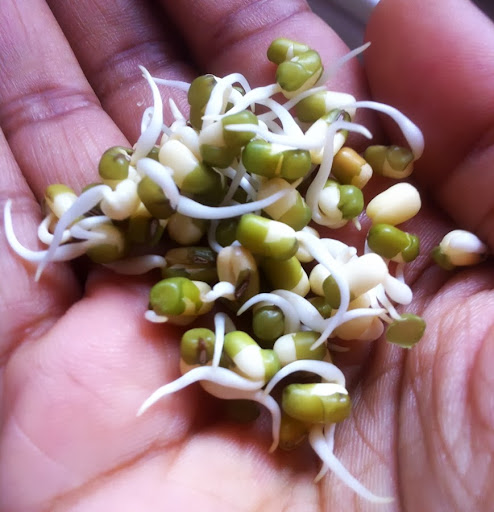
Remember on the first day of MoFo, in my
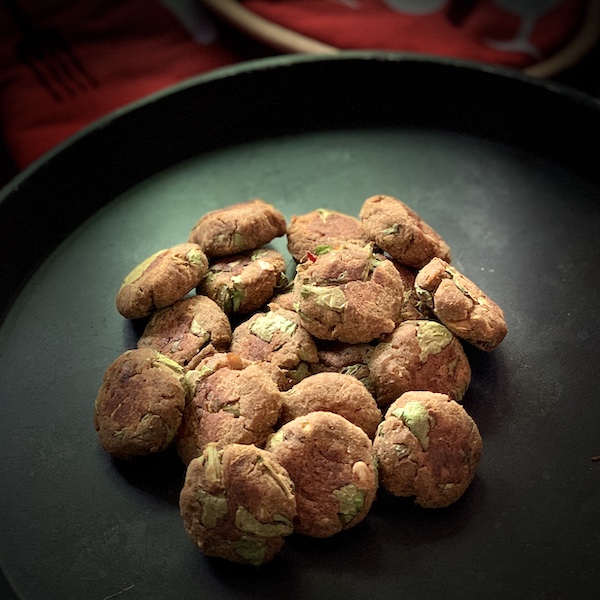
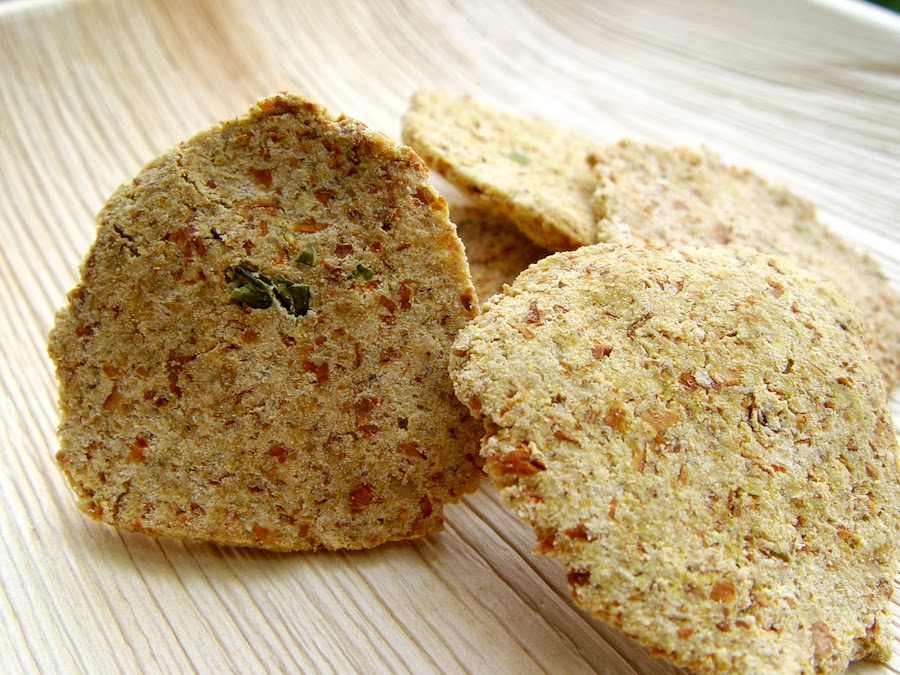
Almond Mylk tutorial, I spoke about saving the pulp after extracting the mylk? Today I'm going to share one of the things I like making with the pulp. This is a recipe for my Raw Almond Pulp Vadai/Cracker type thingies. They just involve mixing a few things into the almond pulp, shaping them into vadais and sun drying them. Simple to mix up but they take a long time to dry, especially in the kind of cloudy weather we've been having here. They are worth the patience though. Especially if you're on a completely raw diet and would like to have something snacky.
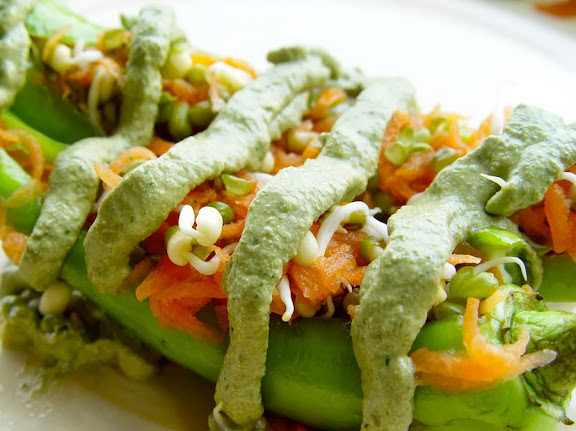
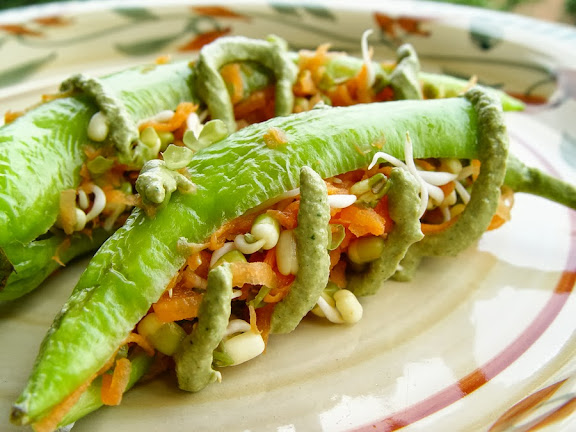
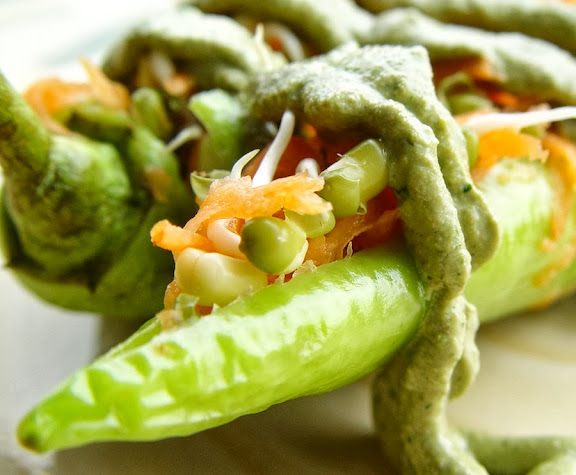
Raw Almond Pulp Vadai (Cracker) Sandwiches
For the Vadais:
1 batch Almond Mylk Pulp (approximately 1 1/2 C)
1 Carrot
5 Green Chillies
3 Cloves of Garlic
3 T Sesame Seed Powder
1/4 tsp Asafoetida Powder
1/4 tsp Turmeric Powder
Juice of 1/2 Lemon
Salt
* Grate the carrots
* Crush the green chillies, garlic and salt together
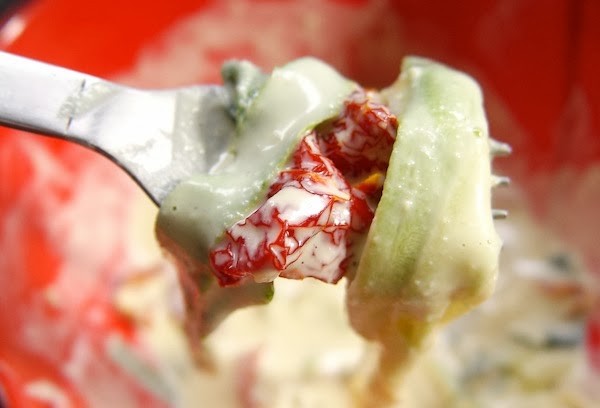
* Put all the ingredients into a bowl and mix them well with your hands
* Taste and adjust the flavours and spices to your liking
* Shape the dough into rounds and flatten them in between your palms
* Place them on a plate that's been lined with wax paper
* Dry them under a hot sun for a few days, flipping them every other day, until they are completely dry
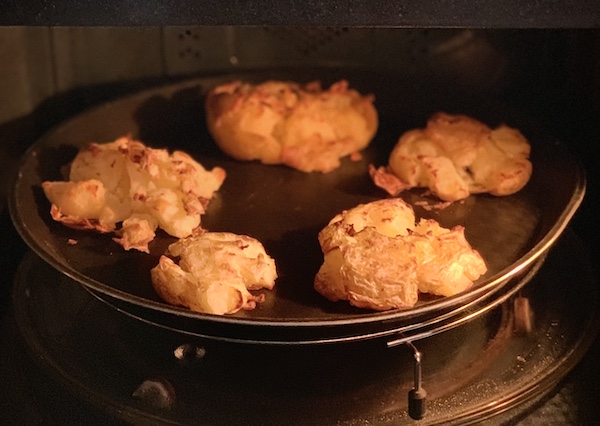
* In case of dull weather, you can place the vadais in your oven at 70°C and dehydrate them by leaving the door of the oven slightly open
* Do this for a few hours each day, over a period of 4-5 days, until they are dry
* Whether you're sun drying or oven drying, in the nights, keep the plate in your fridge, uncovered, because it helps to dry them out more
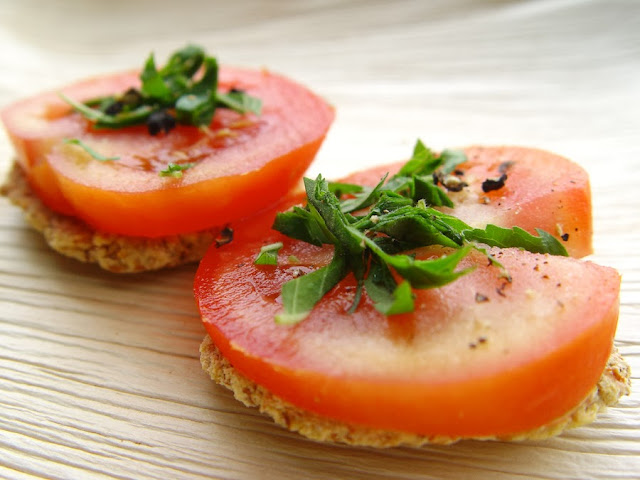
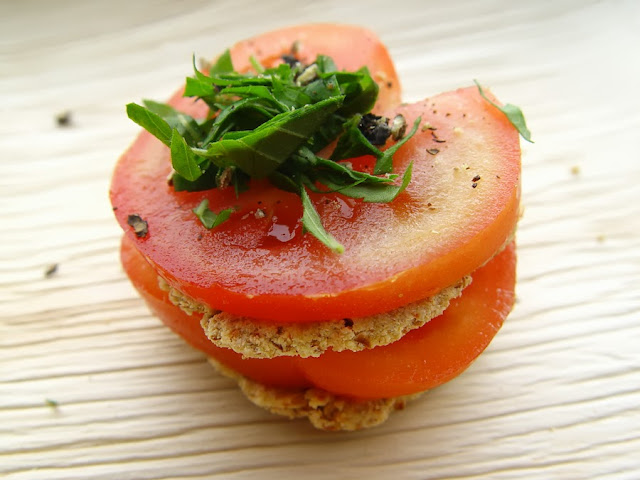
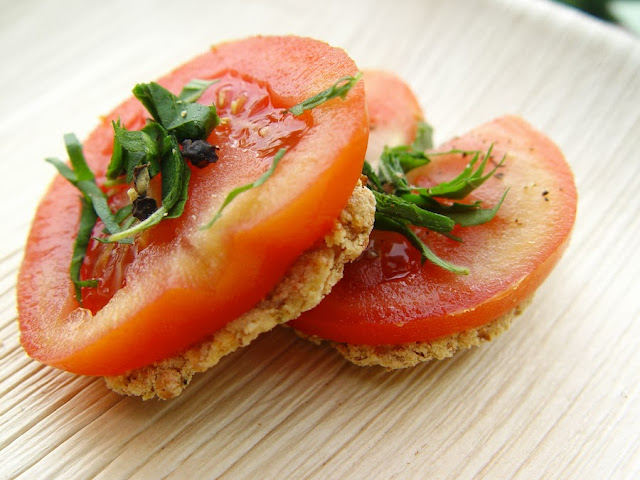
* You can eat these vadais plain but they tend to have a dry mouthfeel and not too easy to swallow. So it is best to enjoy them with a creamy dip or turn them into pretty tomato sandwiches.
For each Sandwich:
1 Vadai
2 slices of Naati Tomatoes (or other juicy variety)
Tulsi (Indian Basil) Leaves
Crushed Black Pepper
* Place the vadai in between the tomato slices
* Top the sandwich with chiffonaded tulsi leaves and some crushed pepper
* Bite into them and taste the delicious textures and flavours
* Enjoy! :)