While I was growing up, Gokulashtami was a small festival, with a couple of very simple dishes for
naivedhyam. It was only after I married my Iyer boy that I discoverd these crunchy, delicious, deep friend snacks called Seedais.
Hubs and I are not very religious and our
poojas are always very quick, but we do enjoy the cultural aspects of our traditional Hindu festivals. And of course the food! :)
On our first Gokulashtami back home in Bangalore, hubby insisted that we make Uppu Seedais and Vella Seedais together and make baby Krishna footsteps
kolam too. It was so much fun that it became a yearly tradition for us. Now, as long as we're here in Bangalore during Gokulashtami, we don't miss out on celebrating it in our small way.

Now after so many years, I've become fairly good at making the Seedais and a pro at shaping the footsteps out of rice flour paste.

People often take the easy way out with the
kolam by just drawing an 8 with a flattened top and quickly putting dots for the toes, but we always insist on using the more traditional, side-fist method. Takes a bit more patience but it's worth the effort. Clench palms into tight fists, dip them in rice flour paste and press them onto the floor, right fist for the right foot and left fist for the left foot, then finally dot the toes on top with the index finger. If there are real little babies at home, then their wee feet are used as the tools for making the footsteps. :oP

For those who have no clue about what I'm talking about, Gokulashtami aka Krishna Janmashtami is a festival in celebration of Krishna's birthday. The little footsteps on are drawn from the main door of the house, all the way up to the
pooja chamber/altar. They represent baby Krishna running into our home happily and jumping up onto his place in the altar in front of the yummy food offerings. The idol on the altar is of an adorable baby Krishna in a little cradle.

All Hindu festivals basically involve these steps: prepare the favorite foods of the God or Goddess who is being celebrated and place said food on the
pooja altar, in front of the idols/symbols/pictures which represent the deity. Light Lamps of sesame oil and incense sticks with a pleasant, calming fragrance. Chant ancient prayers (this part of the ritual could be long or short and would involve ringing a brass or silver bell and lighting a few pieces of camphor on fire to purify and cleanse the house). Next, express gratitude for our many blessings. Offer the
naivedhyam food to the God or Goddess in question. And finally proceed to gleefully stuff our faces with the delicious festival goodies.
Little Krishna is known for his love of butter and curds, but we believe that if he lived on Earth today, he would definitely be vegan because he loved cows with all his heart and would never put up with the cruelties inflicted upon these gentle creatures by humans to satisfy our greedy desires. So of course all the goodies we prepare are completely vegan.
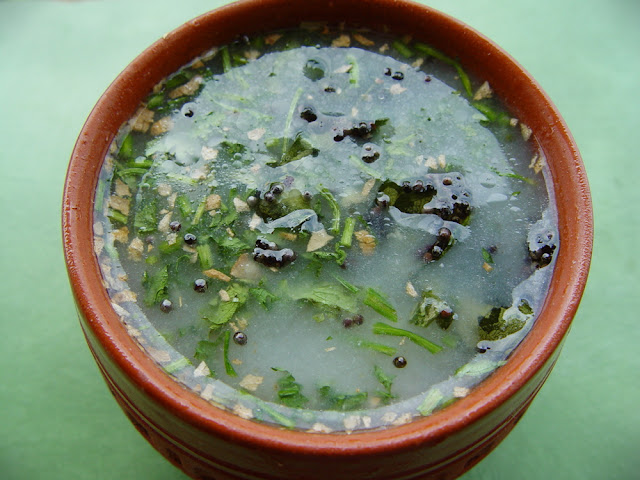
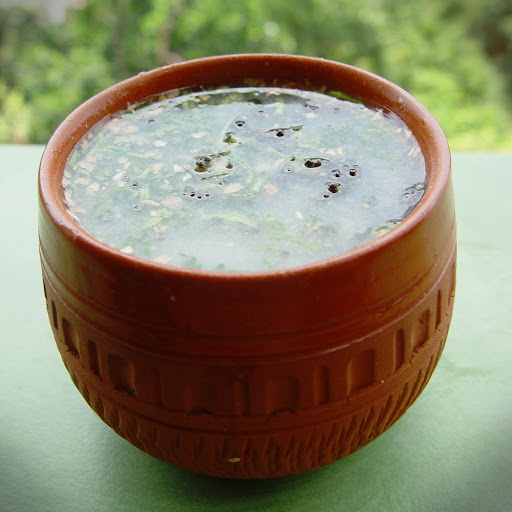
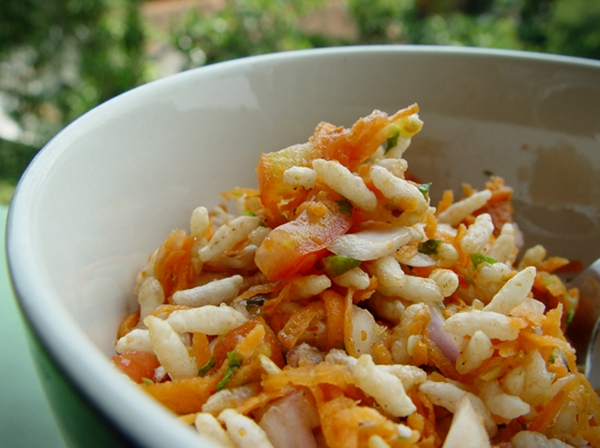
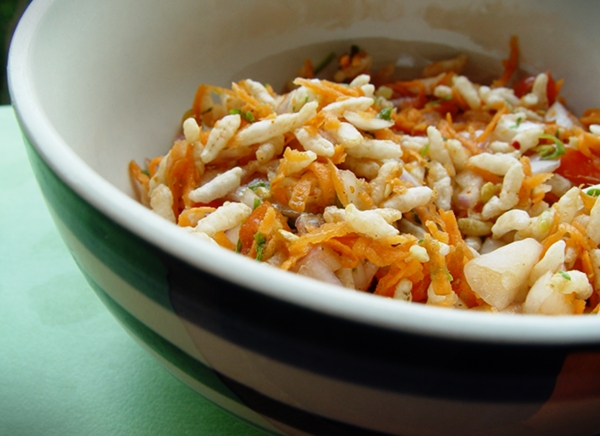
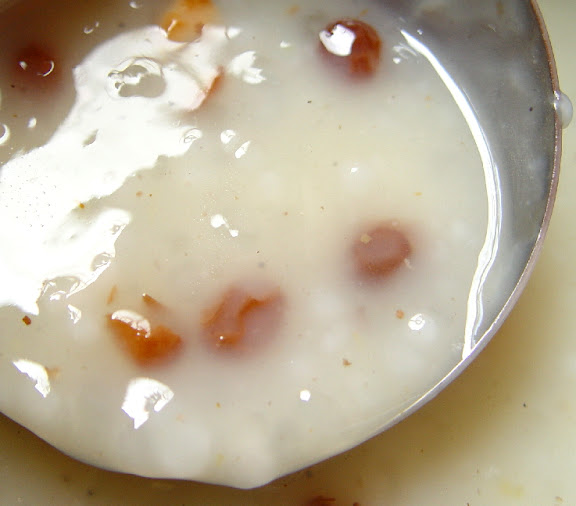
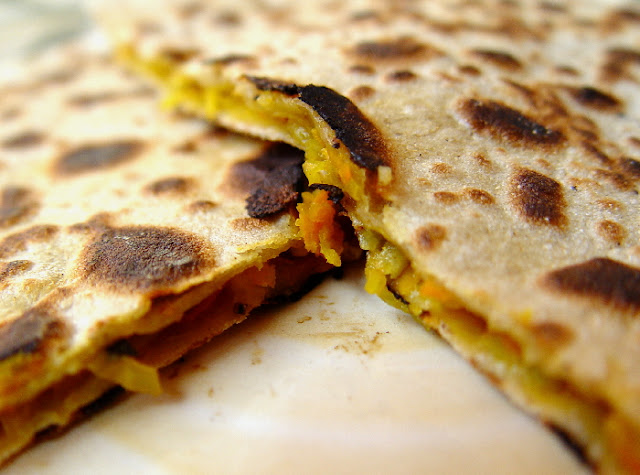
This year I made
Tapioca Payasam, Vella Appam, Uppu Seedai and Vella Seedai.

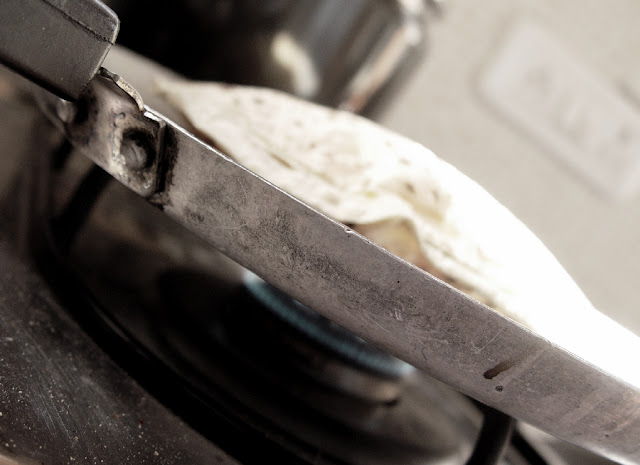
For the Vella Appams, I followed the
recipe from Subbu's Kitchen. Instead of deep frying them however, I shallow fried them in my Paddu/Paniyaram Pan. This helped them hold their shape well.
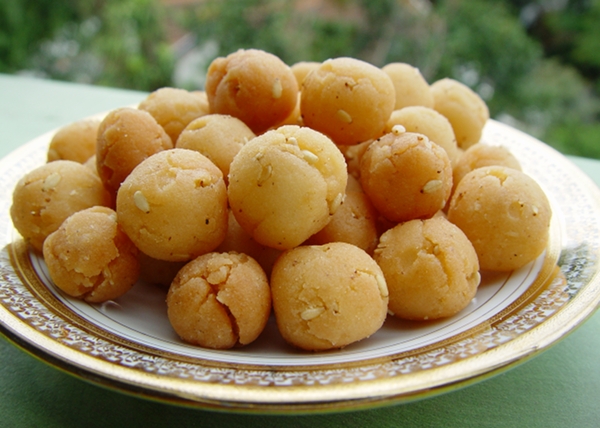
For the
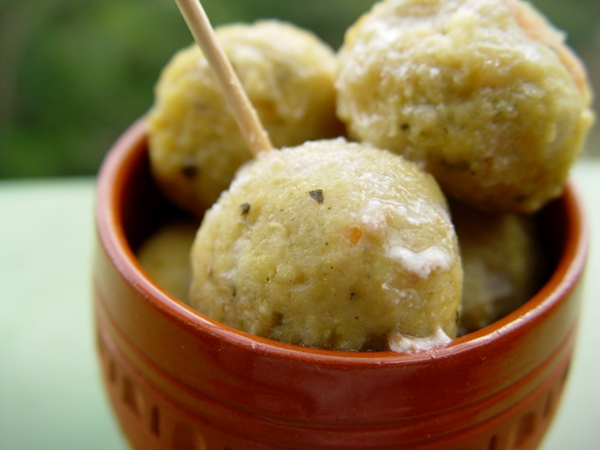
Uppu Seedais and
Vella Seedais, I followed the recipes from Chefinyou, with a few modifications.
Uppu Seedais
Uppu Seedais are known to be tricky little buggers. I've heard that they often turn into little bombs while being fried and splatter oil all over the kitchen. But thankfully, my little Uppu Seedais have always been very well behaved. It's possibly because I use coconut oil instead of butter and dry coconut instead of fresh coconut, which reduces the moisture content in the balls, hence drastically reducing the risk of air pockets being formed inside. Or perhaps it's simply vegan karma at play here. :oP

1 C rice flour
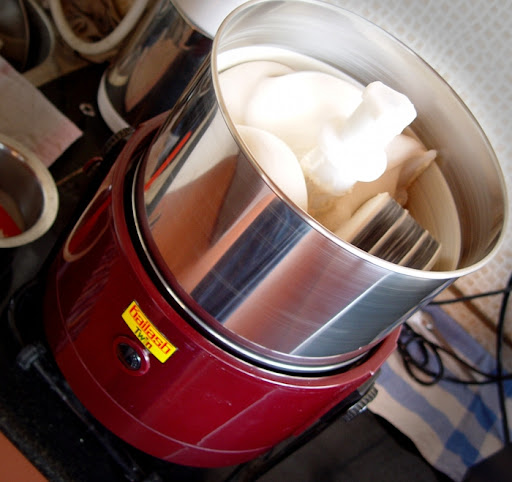
2 T urad dal flour - I followed this
recipe to make it and sieved through a cheesecloth to get a very fine powder
1/4 C white sesame seeds
1/4 C dry/desiccated coconut powder
2 T coconut oil
1 tsp asafoetida powder
Salt to taste
Additional coconut oil for deep frying
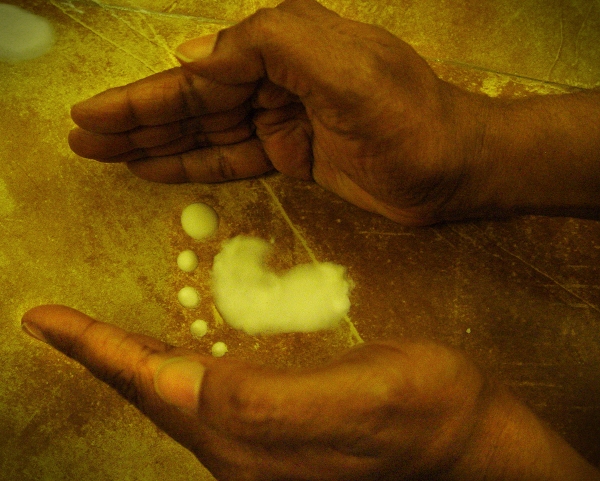
Mix all the ingredients together.
Add a little water at a time and form a stiff dough.
Shape the dough into small, about 10mm thick, balls.
Heat the coconut oil for a couple of minutes and drop the balls into it in batches.
Fry them on a medium flame and stir once in a while to ensure even cooking.
After a couple of minutes, the balls will turn to a light, golden colour.
Remove them with a slotted spoon and place them on tissue paper to absorb excess oil.
Enjoy! :)
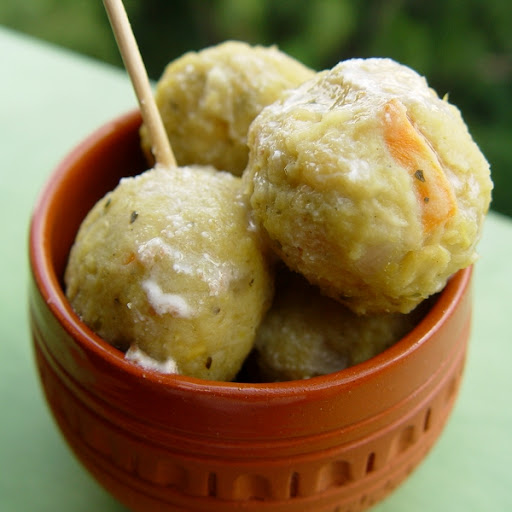
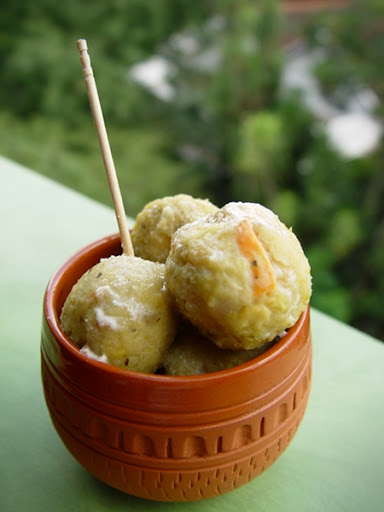
Vella Seedais

1 C rice flour
2 tsp urad dal flour - I followed this
recipe to make it and sieved through a cheesecloth to get a very fine powder
1 T dry/desiccated coconut powder
1/4 C white sesame seeds
1 cup jaggery - dissolved in 1/2 C of hot water and strained
1 cardamom pod's worth of crushed seeds
Small pinch of salt
Coconut oil for deep frying
In a dry, heavy bottomed pan, roast the rice flour on a low flame for a minute or so, being careful not to burn it and set aside.
Lightly toast the sesame seeds and coconut powder.
Mix everything, except the jaggery syrup, in a large bowl.
Slowly knead in the jaggery syrup and form a stiff dough, using only as much jaggery syrup as required.
Cover the bowl with a plate and set aside for half an hour.
Shape the dough into 1 inch balls and keep aside.
Heat the coconut oil for a couple of minutes and drop the balls into it in batches.
Fry them for a few minutes on a medium flame and stir once in a while to ensure even cooking. If the balls brown too quickly, reduce the heat a little more.
They are done when they turn to a dark golden brown colour.
Remove them with a slotted spoon and place them on tissue paper to drain away any excess oil.
Enjoy! :)