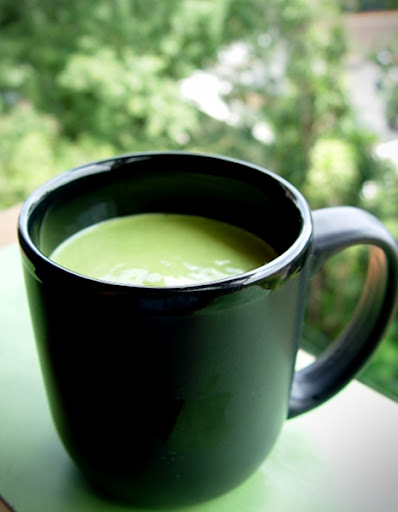
It was a lovely Friday afternoon in April, the day before the first
Vegan lunch/demo at Graze, Taj. Himani and I were lounging on bar stools and sipping on green tea. In the open kitchen we were facing, Uday was chatting with us while preparing scrumptious vegan dishes for us to taste for the next day's event. He told us that a food blogger was coming by soon to review the vegan menu on her blog. I remember thinking it'd be nice to meet another local food blogger in person.
The blogger was Chinmayie of
Love Food Eat and she arrived at Graze with her husband and her adorable daughter. When I went up and introduced myself, she immediately said, "I visit your blog. A lot!" and then she called over her hubby and said, "you know that vegan blogger I was talking about on the way here? It's her". I was not expecting that at all and needless to say, I was totally flattered. :)
We didn't get to talk much that day because both of us were busy with having lunch and taking photographs. We just exchanged cards and spoke about how we should cook together sometime. It was only after coming back home and visiting her beautiful blog for the first time did I begin to learn about Chinmayie and her work.
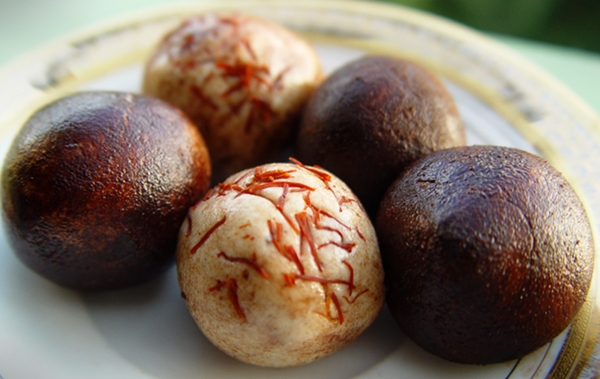
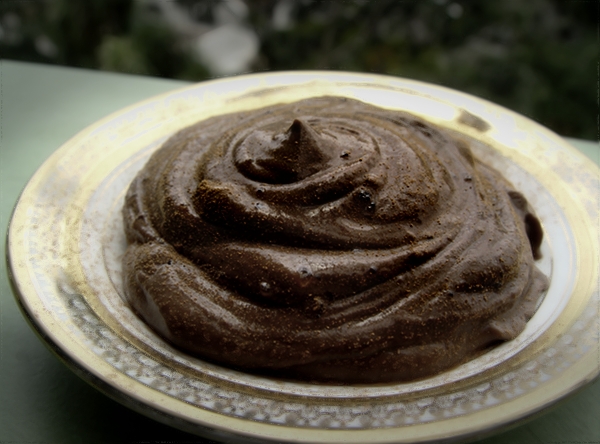
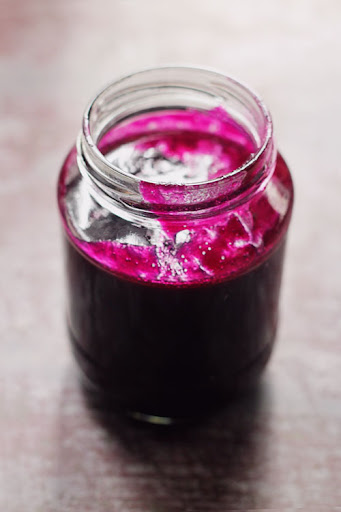
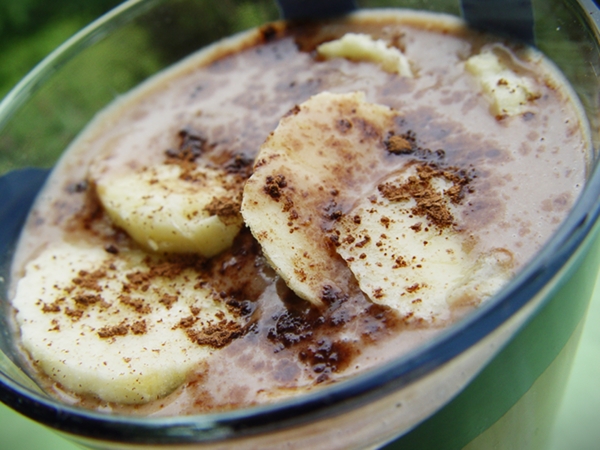
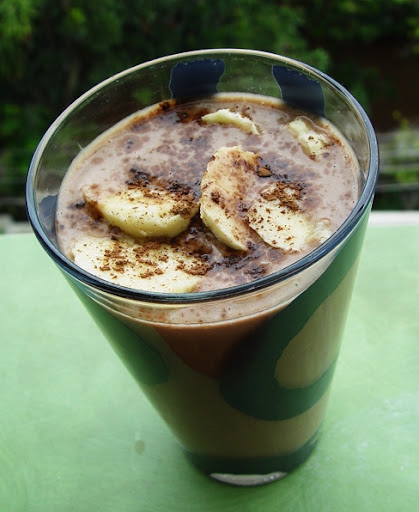
Chinmayie is a vegetarian, but a very large portion of her recipes happen to be vegan. Like me, she is an intuitive cook. That means, instead of following recipes, she prefers to experiment with different ingredients and cuisines and whip up all kinds of interesting concoctions. Just look at this gorgeous, gorgeous
Jamun Jam she invented!
Doesn't it make you want to dip your whole fist in and lick it up? :P
Over the past few months I've gotten to know Chinmayie better, mainly on our Foodies in Bangalore group on Facebook. She leans towards healthy cooking and is quite knowledgeable about plant based nutrition. And she is always interested to learn more about vegan cuisine and try out vegan recipes.
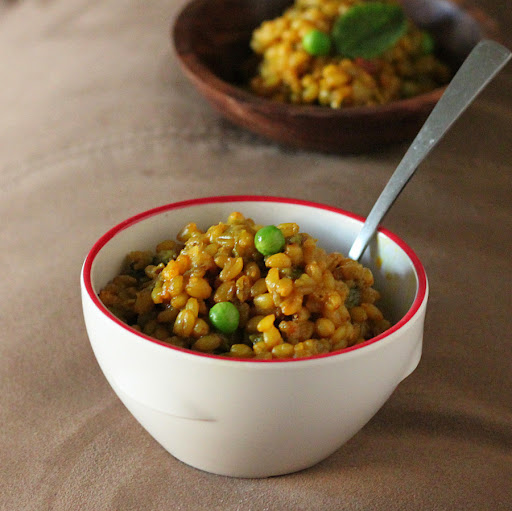
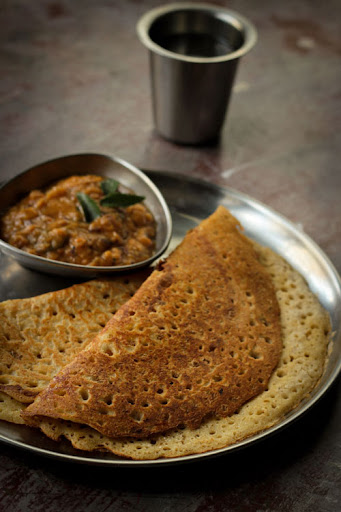
I'm very happy to have her here today with her Navané Dosé. Navané means Foxtail Millet in Kannada and in Karnataka, the word for Dosa is Dosé (the 'e' in both words is pronounced 'ay', as in - say, day, hay...).
Chinmayie has taken lovely shots of the ingredients and the steps involved in making these crispy Foxtail Millet Dosas. Thank you for being here Cinnmayie! :)
Let's move ahead to her guest post now...
--
Hey All! This is Chinmayie from the blog
Love Food Eat. I am here with a guest post for Susmitha's blog.
I have been seeing
Veganosaurus from a long time, even before I started blogging. I initially came across her super cool
miniature clay sculptures and beautiful
jewelry which then lead me to her vegan food blog. I finally met her at a local restaurant recently in a vegan food event. The first words to slip out of my mouth were 'I am a big fan of you and your blog!'
Let's come to the recipe now. Those who know me and my blog, already know my love for millets. I have been working on adding more millets to my diet for more than just health benefits associated with it. While I enjoy them in most forms, my husband and daughter haven't really liked it much. They definitely prefer rice over millets in our daily meals.
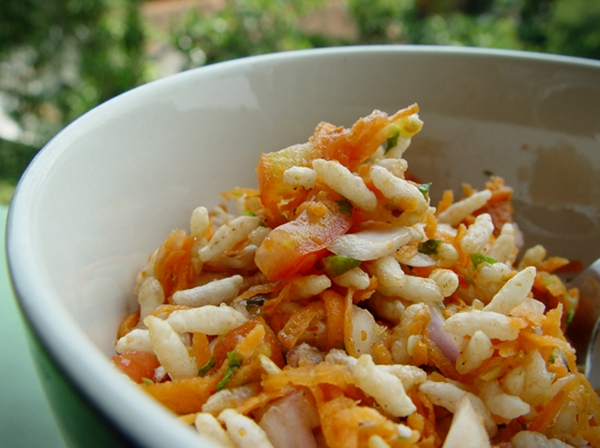
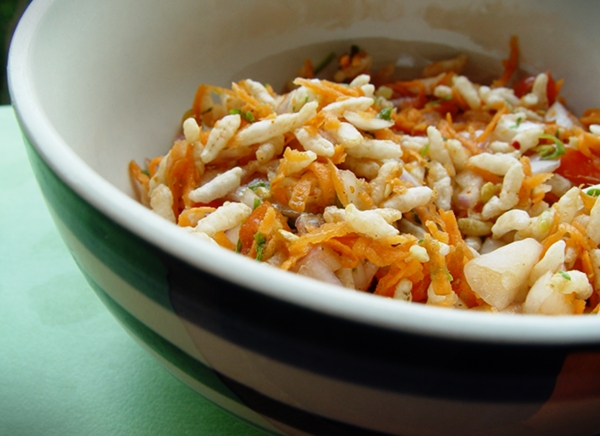
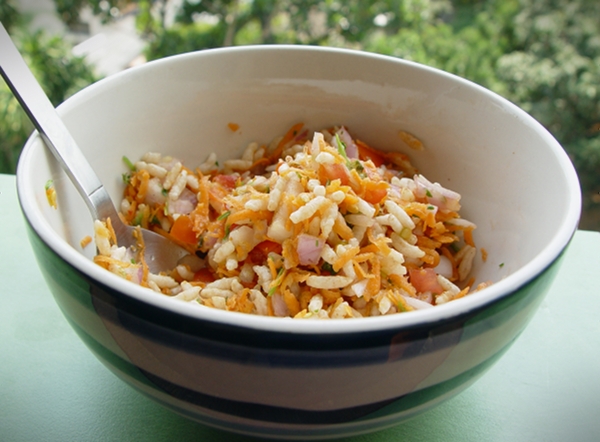
A lot of people find it hard to figure out where to start. I also understand that if you are a rice+rasam loving South Indian like me, it'll be hard for you to include a foxtail millet salad into your everyday menu.
I noticed that it's always easier to start liking a new ingredient when it is used in a familiar way. We all love our good old south Indian breakfast staple dosas. We never get tired of them. I grew up eating all kinds of different dosas, not just the rice+lentil kind. We made dosas out of plantains, jackfruit, cucumbers, water melon rind, tender coconut, wheat, finger millets and a lot more… some sweet, some spicy and everything in between. Having eaten all those different kinds, I was sure foxtail millets would work perfectly in a dosa and I wasn't wrong.
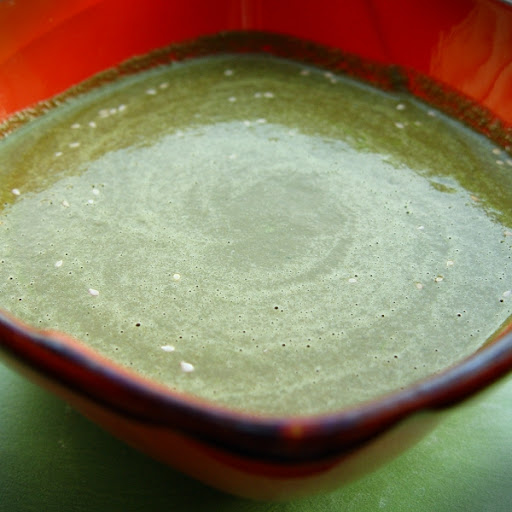
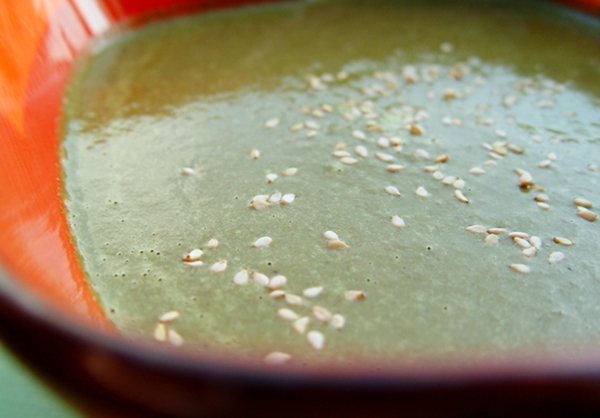
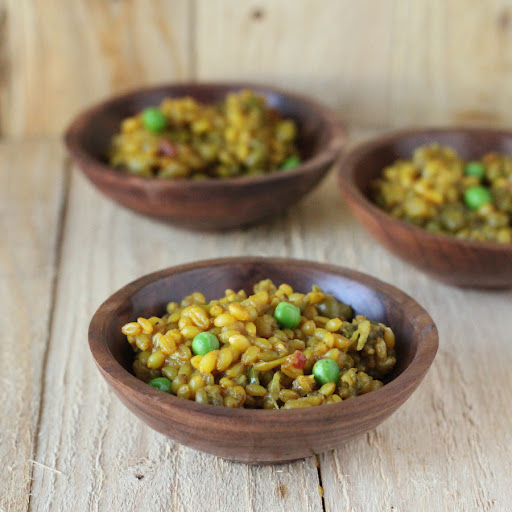
If you wanted to include foxtail millet into your diet and wasn't too sure about using it in its whole form, try this dosa recipe. It works like a dream and tastes super good. You can eat them not just because they are healthy! I served my dosa with some sambar but even a simple coconut chutney will be good.
Notes:
You should be able to skip the rice altogether and make the dosas with just millets+lentils also.
Add green or red chilies, cumin, coriander seeds, cilantro leaves etc... while grinding the batter for more flavor.
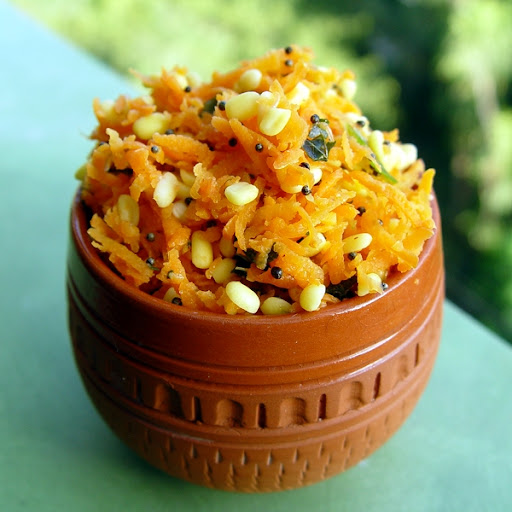
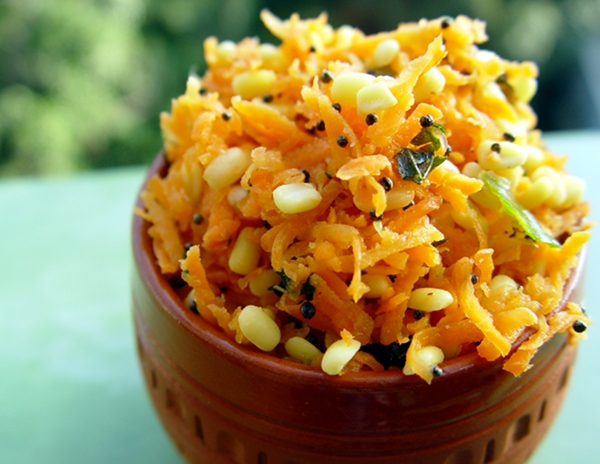
You can also add grated vegetables and greens to the batter and make thick, pancake like dosas.
If you live in a cooler climate, cover the batter with something warm to help it ferment better.
Left over batter can be refrigerated and used for 3-4 days.
Ingredints:
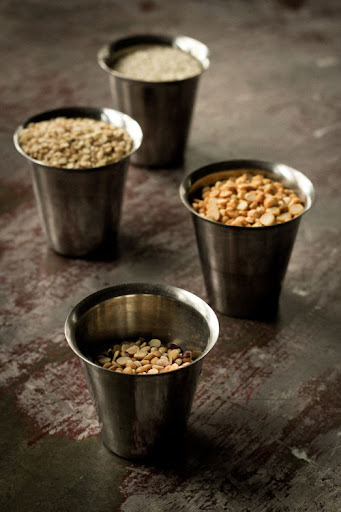
Foxtail millets - 2 cups
Rice - 1/4 cup
Channa dal - 1/4 cup
Urad dal - 1/4 cup
Toor dal - 1/4 cup
Chopped onion - 1/2 cup
Ginger - 1 inch piece
Salt
Combine the foxtail millet with rice and all the lentils and wash them once. Soak them in clean water for 3-4 hours.
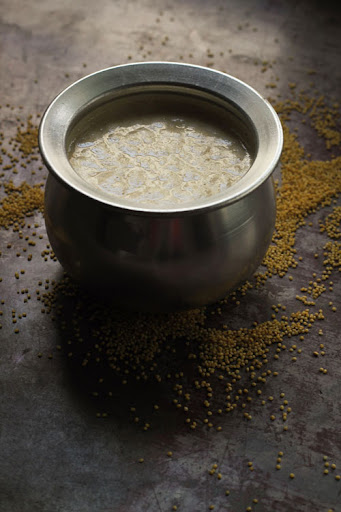
Drain the water fully and place them in a blender with onion, ginger and salt and blend it into a smooth paste. Add enough water to get the batter to a thick pancake batter consistency. Cover and let it ferment for 8-10 hours (or overnight).
After 8-10 hours or the next day, the dosa batter would have fermented well. There might be small little bubbles on the surface and it might smell slightly sour. Mix the batter well.
To make the dosas -
Heat a griddle well, brush it with a thin layer of oil. Pour a ladleful of batter in the center and spread it into a dosa with the help of your ladle. You can either make it thick like a pancake or thin like Crêpes.
When one side of the dosa looks lightly cooked with small bubbles on top, apply a little bit of oil and flip it.
Once ready, serve it with sambar or any kind of chutney.