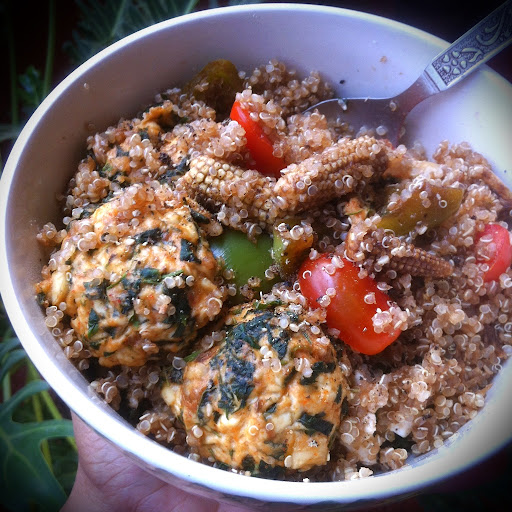
My
Hazelnut Chocolate Cake blog post in March was full of updates about all the awesome things happening in my vegan life. One of the things I'd mentioned was an upcoming vegan cooking demo at a local restaurant. I'd promised to tell you more about it as soon as all the details fell into place. They finally have and here's the story...
It had been a long and pleasantly tiring day. We were all winding down at the end of the first
VGF, basking in the overwhelming success and fretting about how we hadn't gotten our hands on certain sinful delicacies which had sold out way too fast. That was when Aditi Shankar walked in and asked for me. She told me she had found me through my blog and wanted to speak to me about another vegan event which involved promoting vegan food.
I thought she meant an event like VGF, a fair of sorts, and having just finished one after weeks of planning and preparing, I didn't have the capacity to start thinking of another one right away. So Aditi and I decided to connect on Facebook the following week and I promised her I'd be happy to discuss further with her then.
As it turned out, this event happened to be a vegan cooking demo and lunch at a restaurant called
Soul Kadhi. The concept is similar to the demo-lunches I helped organise at
Vivanta by Taj last year, but with one significant difference, it's all about promoting
Indian vegan food.
 Soul Kadhi
 is a North Indian cuisine restaurant located on a cozy street just off Richmond Road, in the heart of Bangalore. It is owned and operated by Nirmala Balakrishnan, who also runs two other eateries on the same premises. Though it is not a completely vegetarian joint, they do serve a variety of vegetarian dishes. Unlike typical North Indian restaurants, they don't overly douse their food with fats and oils. Instead, they strive to serve good, simple, comfort food with a homemade feel. In fact, Nirmala says that ever since she opened the restaurant, she's not felt the need to cook at home. Her whole family eats the food served at the restaurant. :)
Now Nirmala wants to introduce vegan and veganisable options into the menu and that is where I come in. I met with Aditi and Nirmala in March and we came up with some interesting ideas for the event menu. When asked why Soul Kadhi wants to have this vegan event, Nirmala said,
"Vegan food has become this trendy/fashionable concept and it is a general impression that to be vegan, one must eat fancy dishes with exotic ingredients. But what people don't realise is that in India, we just happen to eat vegan food at home on a daily basis. So the idea here is to show people that not only are they already eating vegan food as a part of their regular diet, they can also veganise everyday foods which might contain animal derived ingredients."
Everyday staples like rice, roti, dal, sambar, idli, dosa, etc... are already vegan by default. Most vegans already know how easy it is it be a vegan in India and how it takes barely any changes in day to day cooking/eating for a person to follow a cruelty-free diet. But I was *really* happy to hear a non vegan person understanding and explaining all this. It truly does show that veganism has come a long way in India and is growing each day.
We fixed an appointment for a cooking/tasting session in early April. I first spent some time in the Soul Kadhi kitchen, teaching Chef Ajay and his staff how to make basic dairy better-natives like peanut mylk/curds, cashew mylk/cream. The next day, we worked together for a couple of hours to create the tamarind tofu tikka, malai kofta, kadhi pakora, gajar ka halwa and basundi.
Chef Ajay is really nice and down to earth. He was very open to learning about vegan food and since he's an experienced chef, I ended up picking up some valuable cooking pointers from him as well. It was such a pleasure working with him!
All of us had a scrumptious food tasting session that afternoon. :)
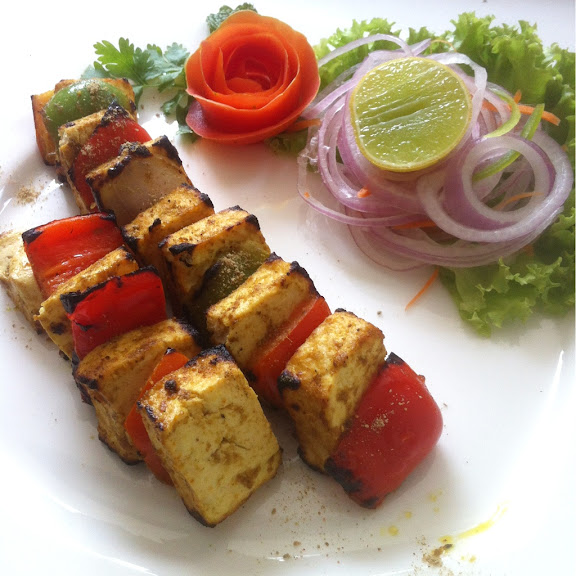
Tamarind Tofu Tikka
 Cucumber Raita
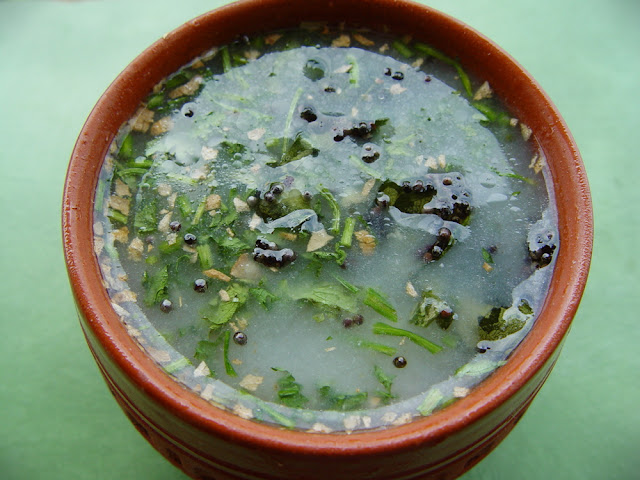
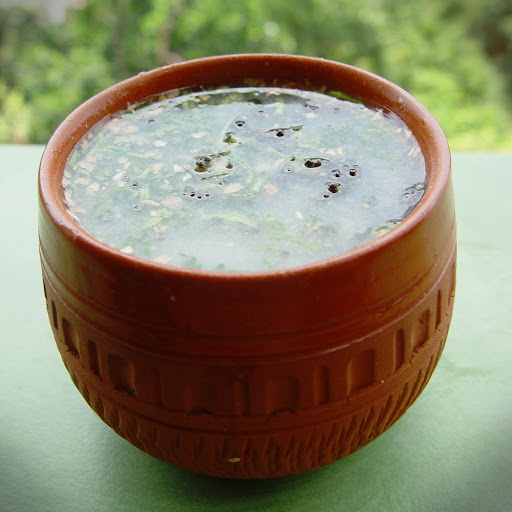
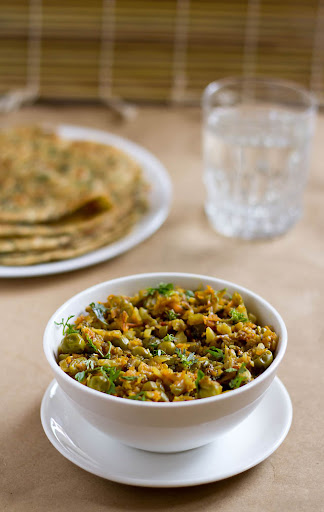
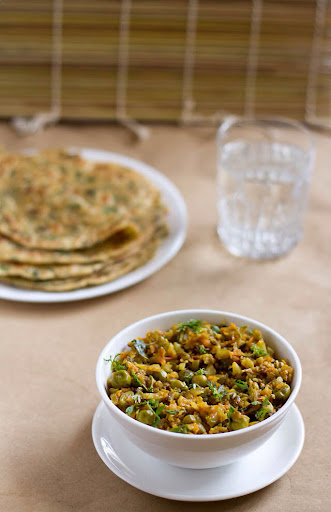
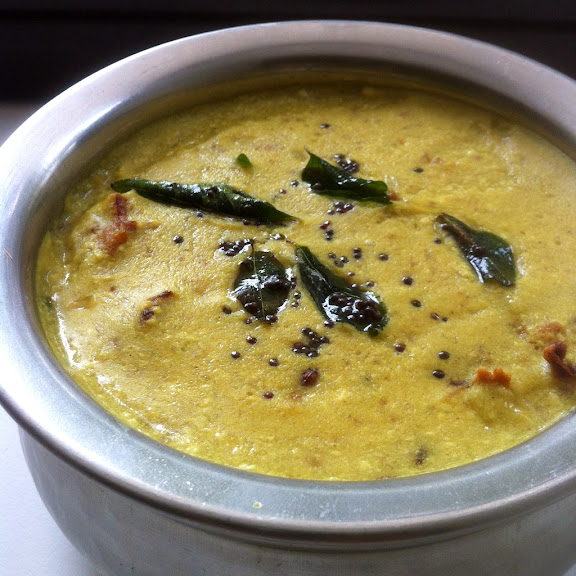
 Kadhi Pakora
 Malai Kofta
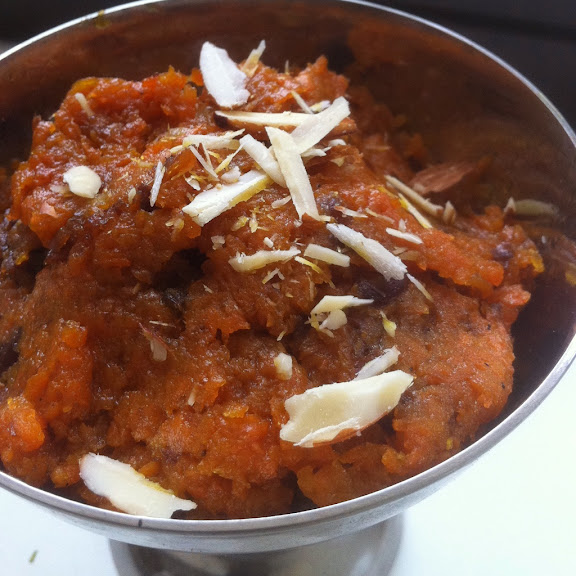
 Gajar Ka Halwa
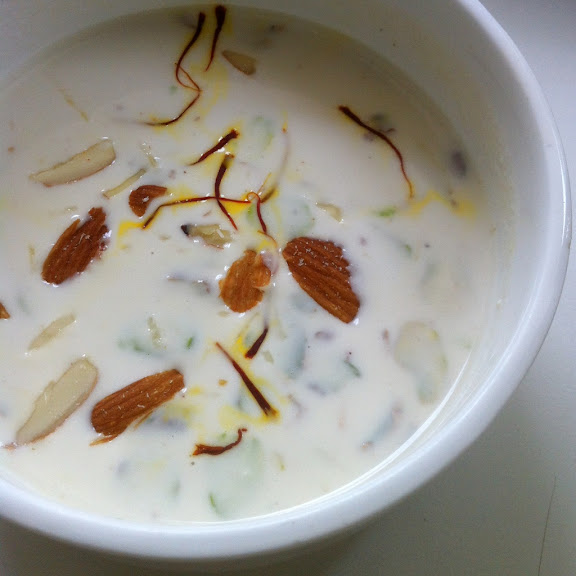
 Basundi
Everything was delicious but the kadhi was hands down the *best* dish! Nirmala exclaimed to the chef that this vegan kadhi made of peanut curds was even better than his regular kadhi (which is supposed to be really good to begin with). :)
Event details:
Location: Soul Kadhi, #3, Laurel Lane, Richmond Town, Bangalore - 560025
Date: Saturday, 18th May 2013
Time: 12 noon
Price: Rs. 500 per person (inclusive of taxes)
At 12 noon, I will give a short introduction to vegan food. Then the chefs and I will begin the cooking demo and show you how to make the dishes pictured above. It will take about an hour to hour and half.
This will be followed by a sit down lunch where all the demo-ed dishes will be served, along with steamed rice and tandoori rotis. The lunch is not limited to single portions.
Registrations for the event begin after 12th May. You can reach Nirmala at +91 96866 01021 and book your place.
You can additionally RSVP on the
Facebook Event Page.
This will be a nice event for veteran vegans to spend a relaxing afternoon indulging in some delicious fare. It will be even more useful to new vegans who want to learn some interesting vegan recipes and those people who are considering a vegan lifestyle or are curious about what completely plant-based food tastes like.
I'd love to see some of my fellow
Bangalore Vegans at Soul Kadhi on the 18th. More importantly, if you have friends or family members who you've been talking to about switching to a vegan diet, this is an excellent opportunity for you to make them experience vegan food at a restaurant first hand.
Depending on the response to this event, Soul Kadhi plans to organise more vegan cooking events in the future. They also intend to introduce these and other vegan dishes into their regular menu based on the feedback of the participants.
Looking forward to seeing you there! :)